
Windows and doors open up your home to the world outside. Windows provide many different functions: they light our homes, show outside views, ventilate our homes, and let in heat from the sun. You can install any type of door or window into a cob wall. In this chapter, I will explain the components you’ll need and how to integrate windows and doors with cob.
Sills
A sill is the durable surface that a window sits upon. Doors usually have what is called a threshold, which serves much the same purpose as a window sill. We will mostly be referring to how this component works with windows though.
A sill can be made of any durable material, such as: stone, concrete, or sometimes wood. The sill acts as a durable surface for your window opening to prevent erosion on the cob wall. A sill should have a drip line on the exterior, and should be sloped not less than 1 unit vertical in 12 units horizontal to drain water away from the cob walls and the window.
Sills can be very heavy, depending on their thickness and type of material used. It’s best to let the cob dry for two or three weeks before setting any sills onto the cob walls. This will prevent your sills from settling out of level and your fresh cob walls from oozing out due to too much top weight.
Frames
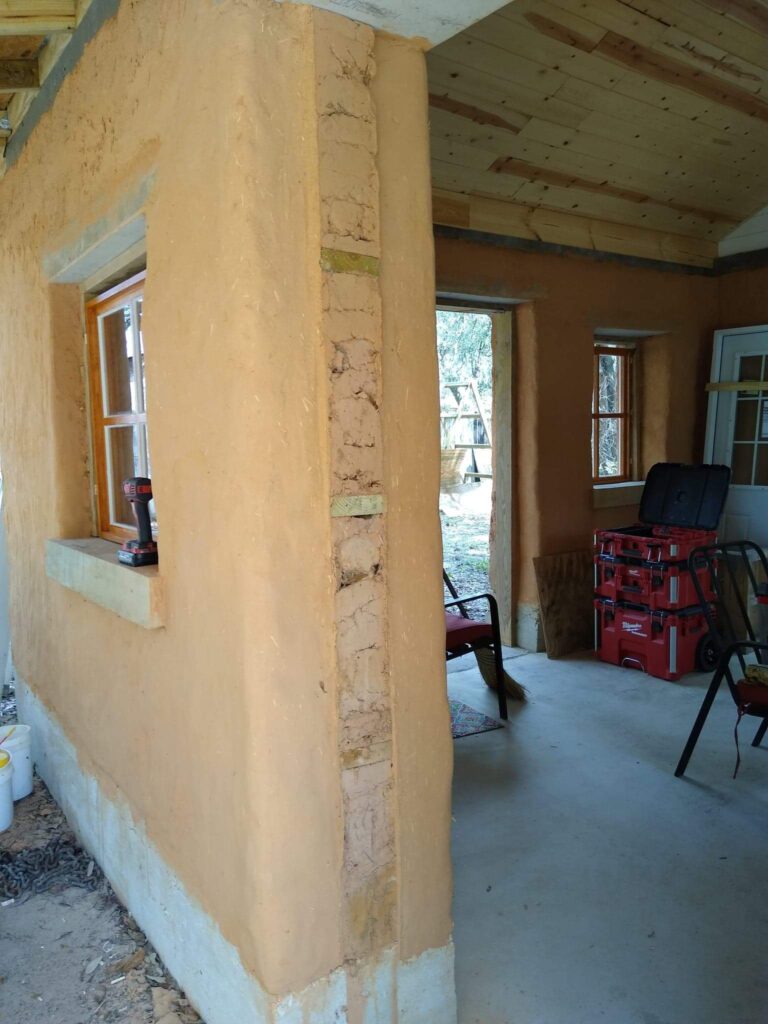
For each door and window that you install, you will create a wooden frame or “box” that attaches to the cob wall. The windows and doors will fasten inside of these wooden frames.
In a conventional stick-framed building, the doors and windows attach into frames just like these. When working with cob walls, the frames are attached into the cob instead of being nailed to the adjacent framing in a wooden structure.
Any standard dimensional lumber will work for building window and door frames. There are actually many different ways that you can construct your frames. Make sure that all of your corners are squared at ninety degrees, and attach cross-bracing to keep the frames sturdy and squared. As the cob dries, there will be a lot of pressure and pulling by the cob walls on the frames. You will also want to brace the frames to the ground or some other solid surface.
Also build your frames about an inch and a half wider on all sides than your actual window or door will be. This will give you plenty of room to insert and adjust them into the frame. Use wooden shims to fill these gaps and align your windows and doors.
Anchors
To actually connect the window and door frames to the cob you will need to use anchors. There are a few options that you can use. One of the most simple methods is to put nails into the outside of the frames with the heads exposed an inch or two. The nails provide a grip for the cob to hold onto.
For big windows and doors it’s a better idea to use a stiff piece of wood which is buried into the cob, sometimes referred to as a “deadman.” These can easily be made out of dimensional lumber.
You will attach the anchors to your window and door frames first and then cob around them. You can also build these type of anchors into the cob walls and have one face left exposed on the side of the wall. Make sure that the exposed face sits flush to the wall. Shelves, cupboards, and cabinets can all be attached to the exposed faces. Install these fixing points wherever you think you will need to fasten something heavy to the wall in the future.
The best way to install window and door frames is to set the frame in place before you build the cob walls that will surround it. Connect the bottom of the door frames to the foundation, cross brace and anchor it, then build the cob walls up around the frame burying your deadman anchors as you go up.
For doors, attach an anchor near the top and bottom of both sides. This should be enough attachment for lightweight interior doors, but you will want more anchors for any heavy, wide, exterior doors. For these, put an extra anchor near the top hinge and an extra anchor about waist height next to the door handle. These tend to be areas where doors take more pressure.
After installing your frames there may be a little bit of shrinkage away from them as the cob dries. These gaps can later be filled in with cob or plaster.
Lintels
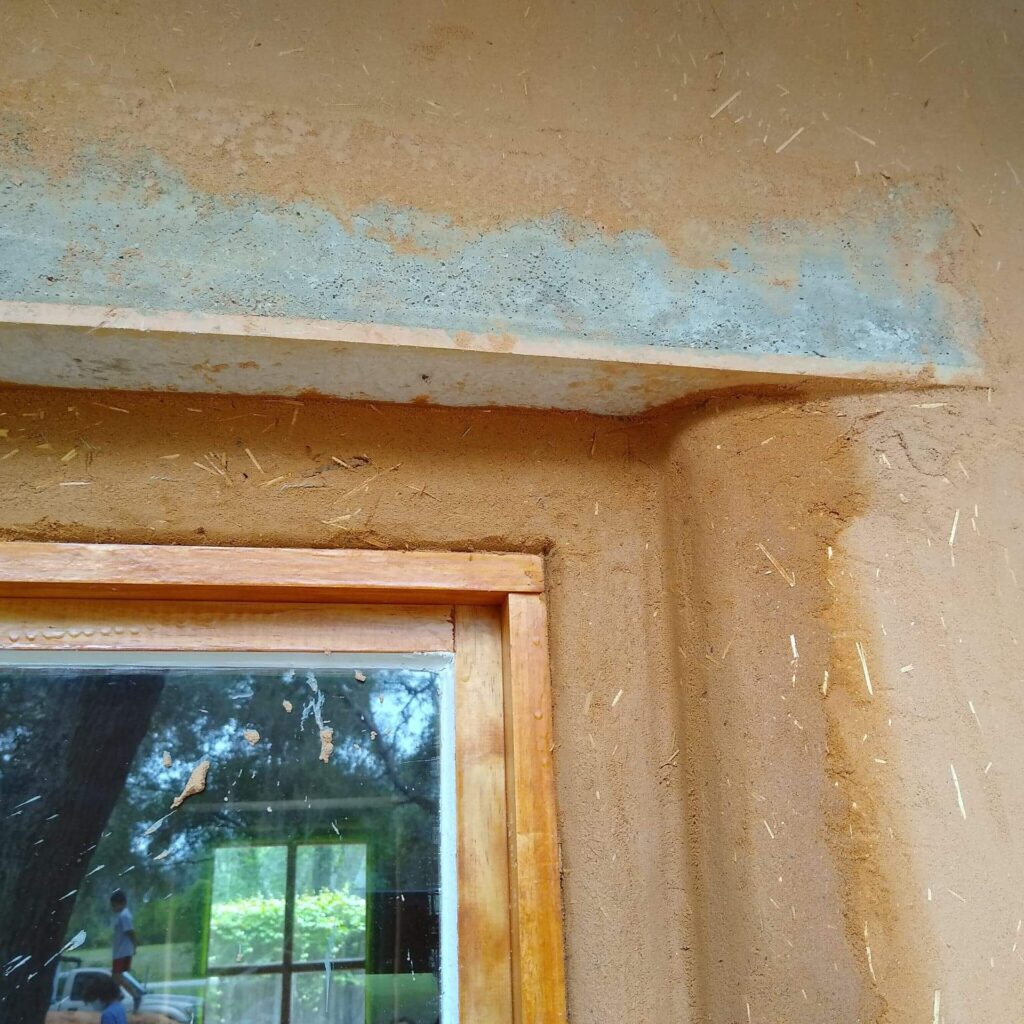
Wherever you plan to install a door or window you are creating an opening in the cob wall at that location. The cob wall usually needs to extend over the top of this opening. Building a lintel is the way to support the mass of the cob over top of the window and door openings.
Lintels are typically made using strong, stiff materials such as: wood, stone, or concrete. I recommend using concrete for lintels. A concrete lintel needs to be 6 inches in thickness, and will usually have three #4 rebars laying through it horizontally. Any rebar should be installed 2 inches clear from the bottom of the lintel and 2 inches clear from the sides. This prevents the rebar from rusting out over time. The sides of any lintels should extend one foot beyond the opening sides of windows and doors.
When you set a lintel onto fresh cob it can settle and sink down, which could potentially crack your window or damage your door. First, let your cob dry as much as possible before you install your lintel. This is the same concept as with installing heavy sills.